Your phone holds years of birthdays, trips, and quiet little moments you would never want to lose. Yet most of us leave those memories sitting on a device that can be dropped, stolen, or flooded with a single bad update. If you have ever felt that jolt of panic at a “storage full” warning, this guide is for you. Here you will learn how to transfer photos to computer quickly, safely, and without losing a single pixel of quality. Whether you use an iPhone or an Android phone, you will find a method that fits.
Even better, you will discover how to transfer photos to computer in a way that keeps your originals sharp and organized for years. Let’s protect those memories.
Why Learning How to Transfer Photos to Computer Matters
Phones are built for taking pictures, not for storing them forever. They break, get lost, and slow down when storage fills up. A computer or external drive gives you more space, better backups, and a safer home for the photos you care about most.
There is also the matter of quality. Many people send pictures to themselves through chat apps or email, not realizing those services shrink the files to save bandwidth. The result is blurry, compressed copies that look fine on a small screen but disappoint when printed or enlarged.
That is why knowing how to transfer photos to computer the right way is a skill worth having. It frees up space on your phone, creates a real backup, and keeps your best shots at full resolution. If your phone is already crowded, our guide on how to free up phone storage pairs perfectly with this one.
What Hurts Photo Quality During a Transfer

Before you move anything, it helps to know what can quietly damage your images:
- Compression: Messaging apps, social platforms, and some email services reduce file size and detail.
- Format conversion: Newer iPhones save photos in HEIC format. Some transfer methods convert them to JPEG, which is widely compatible but can slightly change the file.
- Stripped details: Certain apps remove metadata such as the date, location, and camera settings, which makes sorting harder later.
- Cloud quality settings: Some cloud services default to “storage saver” modes that lower the resolution.
The rule is simple. Move the original file directly, using a method that does not recompress it. If you want to learn how to transfer photos to computer without any loss, always look for words like “original,” “full quality,” or “keep originals” in the settings.
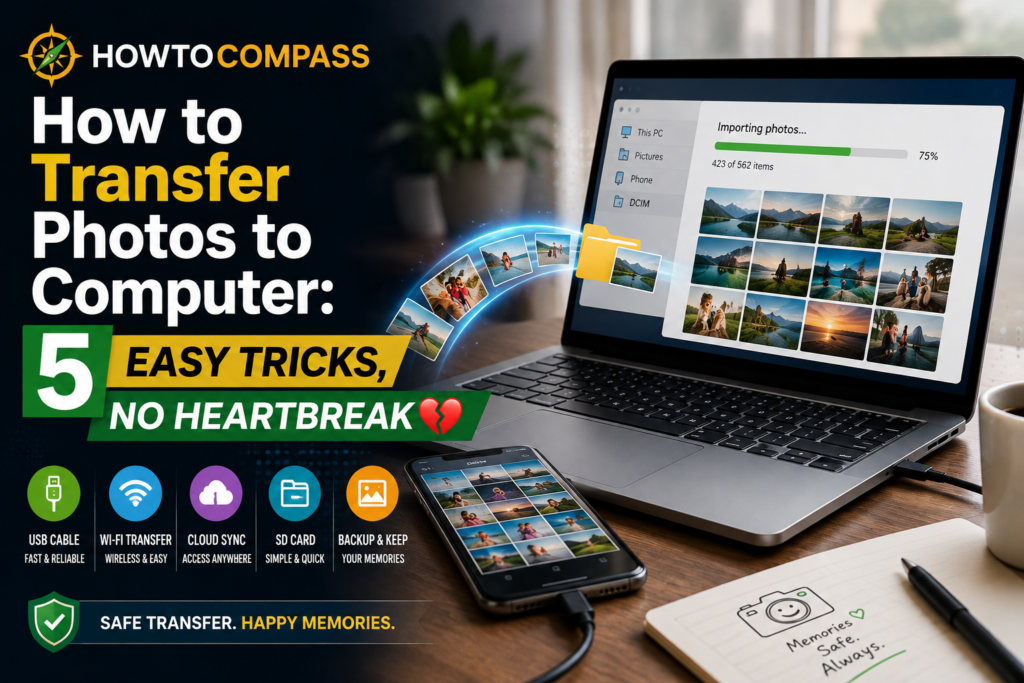
How to Transfer Photos to Computer: 5 Easy Tricks, No Regrets
These five methods cover nearly every phone and computer combination. Each one shows you how to transfer photos to computer while protecting quality, so pick the one that suits your setup.
Trick 1: Use a USB Cable for the Most Reliable Copy
A cable is the gold standard for quality. It moves your original files directly, with no internet needed and no compression.
Connect your phone to your computer with a good-quality USB cable. On Android, pull down the notification panel and choose “File Transfer” mode. On iPhone, tap “Trust This Computer” when prompted. Then open your phone’s folder on the computer, find the DCIM folder, and copy your photos to a folder of your choice.
If your computer does not recognize the phone, try a different cable or port. Cheap charge-only cables are a common culprit.
Trick 2: Sync Through the Cloud at Original Quality
Cloud services are wonderful for hands-free backups, as long as the settings are right. With Google Photos, choose the “Original quality” upload option. With iCloud, turn on iCloud Photos and select “Download and Keep Originals” on your computer.
Once your photos sync, sign in on your computer and download them. Keep in mind that free cloud storage fills up fast, so check your plan before relying on it entirely.
Trick 3: Go Wireless With Nearby Sharing
No cable? No problem. Android users can use Quick Share to send photos to a Windows computer, and Windows users can try the Phone Link app. Apple users with a Mac can rely on AirDrop, which sends full-quality files in seconds.
Wireless sharing is ideal for a handful of photos. For thousands of images, a cable or card reader is usually faster and more dependable.
Trick 4: Use a Memory Card or External Drive
Some Android phones accept memory cards, and many phones now work with small external drives or USB-C flash drives. Copy your photos onto the drive, plug it into your computer, and drag the files across.
This method is brilliant when you travel, because it creates a second copy without needing Wi-Fi.
Trick 5: Back Up the Copies You Just Made
Transferring is not the finish line. A single copy on a single computer is still a risk. Follow the simple 3-2-1 backup rule: keep three copies of your photos, on two different types of storage, with one stored somewhere else, such as the cloud or a drive at a relative’s home.
How to Transfer Photos to Computer on Windows and Mac

The steps differ slightly depending on your computer, so here is a quick walkthrough.
On Windows: Connect your phone, open File Explorer, and select your device under “This PC.” Open the internal storage, then the DCIM folder, and copy the pictures. You can also use the built-in Photos app and choose Import, then From a connected device. The Microsoft support site has detailed guides if you get stuck.
On Mac with an iPhone: Open the Photos app, select your iPhone in the sidebar, and click Import. In your iPhone’s Photos settings, choose “Keep Originals” under “Transfer to Mac or PC” so the files are not converted along the way.
On Mac with an Android phone: Macs do not read Android storage automatically. Install a free file transfer tool from the Android website, connect your phone, and drag your photos across.
Once you know how to transfer photos to computer on your own system, the whole process takes only a few minutes, even for a large library.
How to Transfer Photos to Computer and Keep Them Organized
A messy photo folder can be almost as frustrating as lost pictures. Spend a few minutes building a system now, and you will thank yourself later.
- Create year and event folders. For example, “2026 – Family Wedding” or “2026 – Beach Weekend.”
- Rename important files. A descriptive name beats “IMG_4821” every time.
- Delete duplicates and blurry shots. Fewer files mean faster backups.
- Keep originals separate from edits. Never overwrite your untouched version.
Once you understand how to transfer photos to computer and organize them, finding a specific memory takes seconds instead of an afternoon of scrolling.
Also remember that your photo library may be tied to accounts that need protection. If you are using cloud storage, make sure the login is solid by reading how to create a strong password.
Common Mistakes to Avoid
Even careful people stumble on these:
- Deleting from the phone too soon. Always confirm your photos opened correctly on the computer first.
- Sending photos through chat apps. Convenient, but compression lowers the quality.
- Ignoring storage space. Make sure your computer has enough room before you start.
- Skipping the backup. One copy is never enough.
- Using a damaged cable. It can cause interrupted transfers and corrupted files.
Learning how to transfer photos to computer is as much about avoiding these small errors as it is about the technique itself.
Frequently Asked Questions
Do photos lose quality when transferred by USB?
No. A direct cable transfer copies the original files exactly as they are, so quality stays intact.
Why are my iPhone photos not opening on my computer?
They are probably in HEIC format. Install the HEIF image extension on Windows, or set your iPhone to transfer as “Keep Originals” and convert copies later if you need JPEG.
Is cloud storage safe for photos?
Yes, when you protect your account with a strong password and two-factor authentication. Still, treat the cloud as one backup, not your only one.
Final Thoughts: Protect Your Memories Today
You now know how to transfer photos to computer using five dependable methods, and how to keep your quality, organization, and backups in good shape. You do not have to move everything at once. Start with your most precious photos tonight, copy them by cable, and confirm they open. Then set up an automatic cloud backup so future pictures are protected without any effort.
A little time today can save you from a lifetime of “I wish I had backed those up.” If you want more simple, practical guides like this one, take a look at our beginner-friendly tutorial on how to use ChatGPT for beginners.